
Copic Tutorial - Feather Blending
By Colleen Schaan
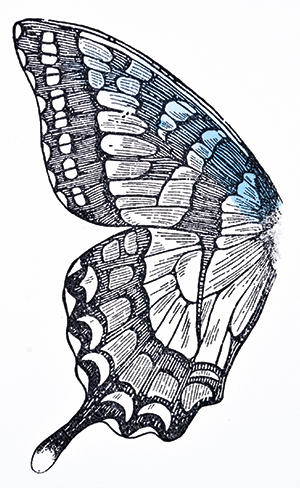
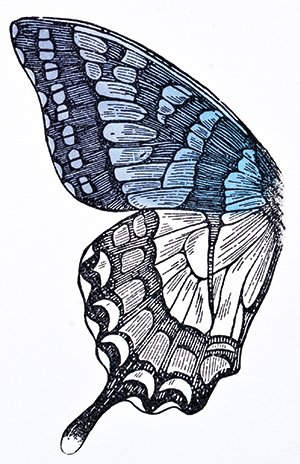
Use the feather-blending technique to create gorgeous wings on which a lovely butterfly can flit and flutter.
Supplies Needed:
- Smooth white cardstock
- Line image (rectangle shape is used for tutorial/practice purposes)
- 2 Copic® markers from different color families
This month I'm tipping my hat to the current ombre fashion trend. Whether it's in clothing or hair, the popular fad of colors or tones shading or blending into one another is hot, hot, hot! That makes this the perfect time to jump on the coloring bandwagon to master the feather-blending technique.
Feather blending, sometimes referred to simply as feathering, is considered the most difficult blending technique and will require the most practice, but with patience and a little guidance, it might just become one of your favorites.
Step 1: Begin by picking two markers from different color families. Note: It is much easier to blend colors from families near each other on the color chart, such as blue and green or yellow and orange or pink and purple. The samples use B32 and BV01.
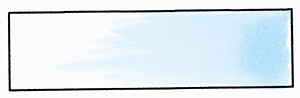
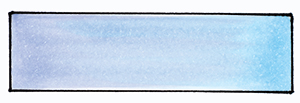
Step 2: Start by flicking one color (B32) from the edge of the image toward the other edge. I typically start on the right side and flick toward the left, but you can start wherever you are most comfortable. Don't flick all the way across the image; stop about 2/3 of the way across. Use the side of the brush nib and make multiple light flicks to cover the area (Photo 1).
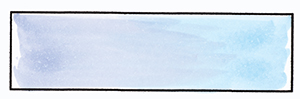
Step 3: Using the second color (BV01), make flicks from the uncolored edge toward the inked edge. Flicks should overlap and fade into the first color. Note: It may be easier to rotate the paper before adding the second color. The colors will appear streaky and unblended at this point (Photo 2).
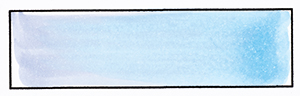
Step 4: More ink is necessary to create a smooth blend, so add additional flicks of the first color (B32) to saturate the overlapping area. Note: The leading edge of the flick stroke will darken with each layer (Photo 3).
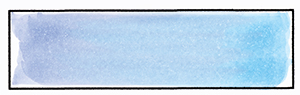
Step 5: Add additional flicks of the second color (BV01), saturating the overlapping area (Photo 4).
Step 6: Continue adding ink, rotating between colors to create a smooth blend.
Step 7: Once the overlapped area is blended, you can touch up the edges by filling in any gaps and uncolored areas (Photo 5).
Picking Colors
When selecting colors for the feather-blending technique, here are a few helpful tips to keep in mind.- Colors closest to each other on the color wheel are easiest to blend.
- Lighter shades (colors ending in a 0, 1 or 2) are easier to blend than darker colors.
- Use colors with similar shades to avoid overlightening or difficult blending.
- Don't use complementary colors. They will gray each other out and appear muddy.
Tips & Tricks
- Use the side of the brush nib to create wide, smooth flicks.
- Make sure the markers are juicy.
- Don't worry about the leading edges of the strikes; those areas can be filled in after the image in blended.
- Always feather in the direction of the object (Photo 7).
- If you feather outside the line, cut the image out.
- Color only one section at a time (Photo 8).
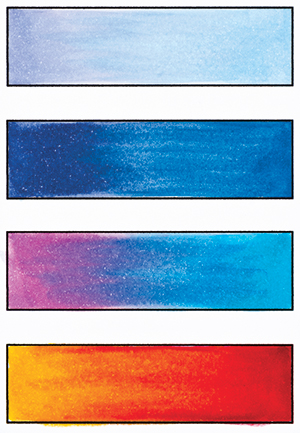
- Create your very own ombre effect with the feather-blending technique (Photo 9).

This Copic tutorial was first published in the Summer 2014 issue of CardMaker magazine. To get more information on Copic marker techniques:
- Purchase a copy of Colleen's book Copic Coloring Guide.
- Check out Colleen's blog, www.distinctivetouches.com.
- Subscribe to CardMaker magazine, where Colleen has a regular column featuring Copic marker techniques.
