
Copic Tutorial - Grounding Your Images & How to Color Sky
By Colleen Schaan
Make stamped images come to life when you give them a place to settle or rest. Discover how easy it is with the grounding technique.
Grounding your images means more than just giving them ground to stand (or sit) on ... it means creating a surrounding area for them to be a part of. In most cases, grounding consists of creating a background or scene including the sky and, well, ground.
Grounding an Image Tutorial
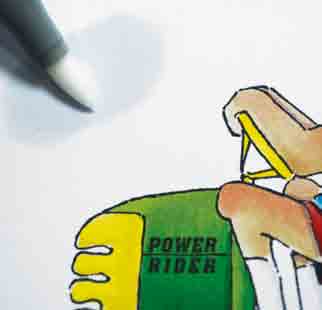
Begin by coloring the entire image as desired (Photo 1).

Working in small sections, presaturate an area slightly outside the colored image with the Colorless Blender. This will make the blending in the next few steps easier (Photo 2).
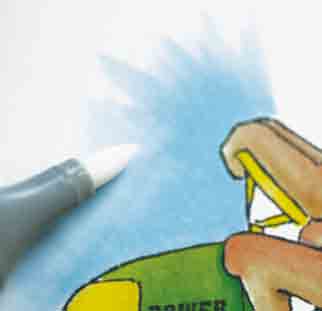
Again working a small area at a time, flick the sky color (B000) from the image outward into the presoaked area. Try to get a smooth, even coat of ink near the image and lift each stroke as you move away (Photo 3).

Using a juicy Colorless Blender, flick from the presoaked area back toward the image. This will blend the edges of the colored ink and give a gradual fade to white (Photo 4).
Continue working in small sections, following photos to add the sky area. Create a horizon line by sketching in a horizontal line with a dark ground color (G14) (Photo 5).

Add ground in the same manner as the sky, presoaking an area and flicking from the horizon line down and out (Photo 6).

Blend ground edges by flicking back toward the horizon with the Colorless Blender (Photo 7).

Don't leave your images hanging. Create a sense of space for them with this easy grounding technique.
Sources: Stamp image used for tutorial is "Lawn Ranger" from Art Impressions. See project tutorial for Copic® colors used.
This Copic tutorial was first published in the May 2012 issue of CardMaker magazine. To get more information on Copic marker techniques:
- Purchase a copy of Colleen's book Copic Coloring Guide.
- Check out Colleen's blog, www.distinctivetouches.com.
- Subscribe to CardMaker magazine, where Colleen has a regular column featuring Copic marker techniques.
