
Copic Tutorial - Doodle Art With Multiliners
By Colleen Schaan
Learn to create custom card art with Copic Multiliners. A pen and your creativity are all you need!
Doodling has long been a happy habit of mine, even though I was, at times, seemingly unaware of my aimless scribbling. Luckily, the habit of drawing shapes, images, characters and endless lines has grown into a skill that I can incorporate into my card making.
In this tutorial, the focus isn't on coloring, but on inking pens and one of my favorite uses for them. Follow along to see how Copic® Multiliners are used in conjunction with stencils and stamps to create unique doodled cards.
Materials
- White cardstock (full sheet)
- Stencil
- Stencil tape (optional)
- Pattern stamps
- Black dye ink pad
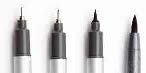
- Copic® Multiliners - black (variety of sizes)
- Copic® markers
- Copic® Airbrush System
Step 1: Place stencil on paper. Tape edges if necessary.
Step 2: Using a dark gray Copic marker (C9), airbrush over open areas of stencil.
Step 3: Remove stencil carefully to reveal airbrushed sections.
Step 4: Using airbrushed sections as a guide, cut paper into a variety of sizes and shapes for card fronts.
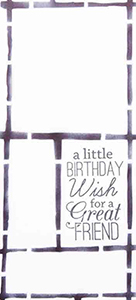
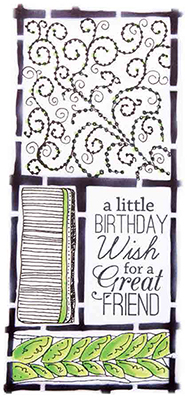
Step 5: Pick a section that is approximately the same size and shape as the sentiment. Stamp text with black ink (Photo 1).
Step 6: If you are intimidated by the thought of freehand doodling to fill a space, pick a line image that will fill an area. Mask off edges of section if necessary. Stamp image with black ink (Photo 2).

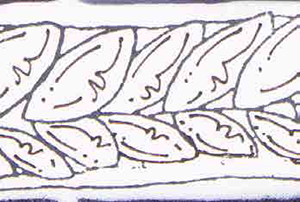
Step 7: Using leaf shapes as a guide, add doodled details to individual leaves. Outline or fill in with shapes as a starting point (Photo 3).
Step 8: As you get more comfortable doodling, move to another section and use a stamp that doesn't fill in the entire area. Use this as a "starting point" for your freehand doodle (Photo 4).
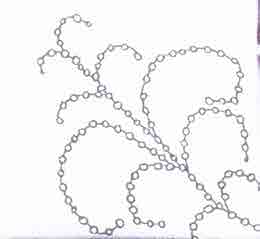
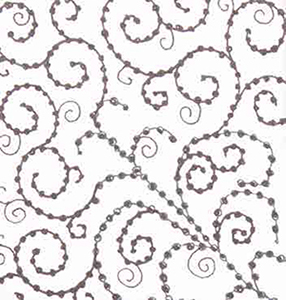
Step 9: Take cues from the stamped image and continue to make similar types of lines and shapes. Here, the open space is filled with vine-shaped curls (Photo 5).
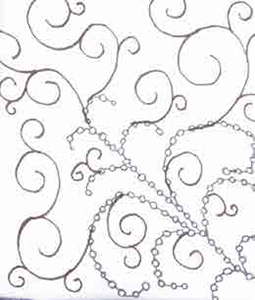
Step 10: Finish doodle by adding fine details such as dots and additional curls to coordinate with original stamped image (Photo 6).
Step 11: Once you are ready to tackle freehand doodling, look around for shapes, patterns and textures you can recreate in other sections. Add lines, shapes and patterns to fill available spaces. This doodle was inspired by another stamp pattern (Photo 7).
Step 12: Spotlight areas of each doodle with a splash of color (Photo 8).
Tips & Tricks
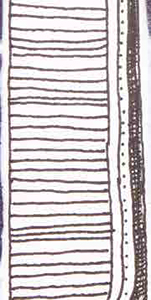
- For more visual interest, use a variety of pen sizes to create different line widths.
- Use the same base color for multiple objects to unify tone.
- Use colored Multiliners for added interest.
- Keep a sketchbook or journal full of interesting line types and patterns for reference and inspiration.
- Let go of perfection -- relax and let the ink flow!
|
This Copic tutorial was first published in the Spring 2015 issue of CardMaker magazine. To get more information on Copic marker techniques:
- Purchase a copy of Colleen's book Copic Coloring Guide.
- Check out Colleen's blog, www.distinctivetouches.com.
- Subscribe to CardMaker magazine, where Colleen has a regular column featuring Copic marker techniques.
